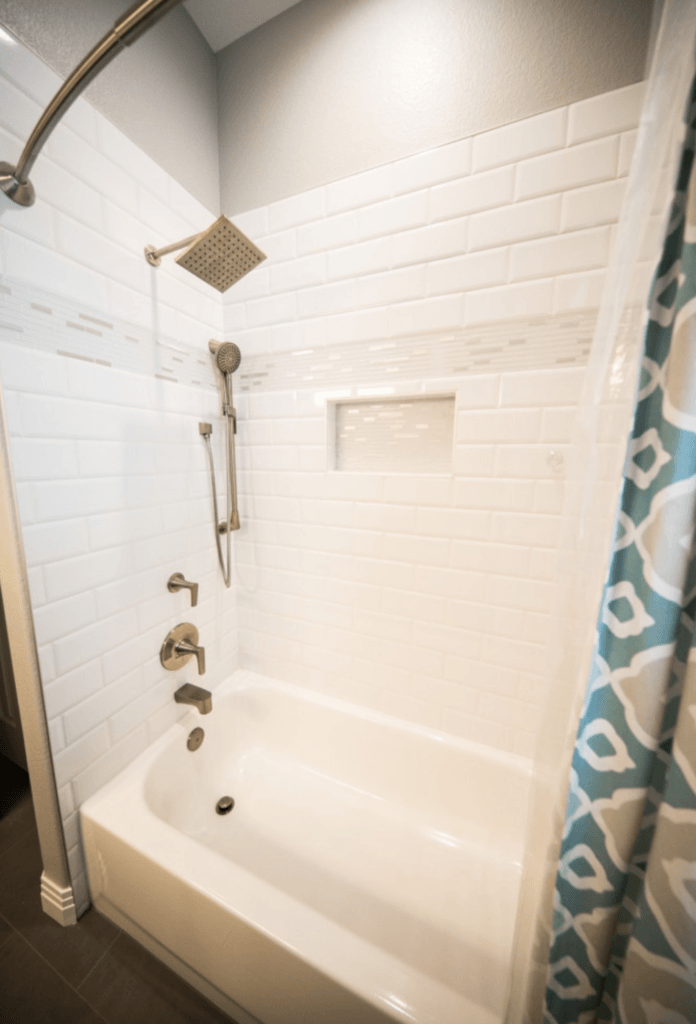
There is nothing better than taking a hot shower at the end of a long day. Like everything else in the home, showers need maintenance, and caulking them is one of the main items. Caulking prevents leaks, mold, and an unpleasant showering experience. Let’s detail the best way to caulk a shower.
To caulk a shower you will need to gather the basic tools and material, remove the old caulk, clean and dry the area, and apply the new caulk. Let it dry for a full day, and your shower will be ready to be used again.
The process is fairly simple. You will need a few basic tools that are a part of almost any modern household. Here is a step by step guide with all the necessary information and tips on how to do it correctly.
1. Gather the Tools and Material
These are the tools and material you will need:
- A utility knife
- A utility scraper
- All-purpose nylon scrub brush
- All-purpose cleaner, such as Clorox Green Works
- Bucket of warm water and sponge
- Old hand towel
- Caulk gun
- Appropriate Caulk (search for quality caulk made for bath/showers)
Caulk can be latex or silicon-based. Silicon-based caulk is the best choice for tubs and showers to prevent water damage.
Damp and poor-ventilated areas like most bathrooms are prone to mold. Make sure the caulk you purchase is made for bathrooms, as they are more resistant to mold.
2. Remove the Old Caulk

If the caulk is really old and worn out, you can easily remove large pieces with your hands. But to make sure you get as much as possible out, use a utility knife and cut it out. If there are any leftovers, use a utility scraper to get rid of those persisting parts.
Be patient and do everything slowly and thoroughly. If there are any leftovers and you apply the new caulk, it may not spread and attached evenly and may not seal correctly.
Be careful with the utility knife. You may want to use protecting gloves. Also, scrape the caulk carefully, or you may damage the surrounding surfaces.
3. Clean and Dry the Area
Removing old caulk and applying a new one won’t have a good result if you apply it over a dirty and humid area. If mold spores are left under the new caulk, mold could grow and spread.
To prevent this from happening, clean the area with an all-purpose cleaner, such as Clorox Green Works and an all-purpose nylon scrub brush. When you finish, let it dry before you move onto the next step. New caulk will not stick to wet surfaces.
4. Apply the New Caulk
Preparation is more than half of the process. If you have done it right, this is relatively easy to do.
Take the caulk gun, or a caulk tube if you have no gun, and start filling the gaps. There is no specific direction in which you should move. Find a comfortable position where your hands can be steady and slowly push out the product. Do not move too fast. If you move too fast, you may be applying too little of the product to seal the gap correctly.
Go section by section. When you finish filling a gap, use a damp cloth or wet finger to remove the extra caulk. It won’t stick to wet surfaces, so you are going to be safe.
Continue filling all the gaps you planned.
5. Let it Dry
When you finish, let the caulk dry completely. It may take 24 hours. Some caulks are advertised as fast drying, but to be sure, let it sit for 24 hours. After that, you can use the shower again and enjoy it for a long time.
How Often Should Caulk Your Shower?
If you are wondering how often should you do this, the answer is that it depends. If multiple tenants use the shower, or low-quality caulk was applied, it may last less than a year. Otherwise, you should replace it once in a year or two.
If the shover is rarely used (like a guest shower or a shower in a vacation home), it should be done once in a few years, to be safe. It can dry out and lose its properties, even though it is barely used.
Additional Tips and Tricks for Caulking a Shower
I can’t tell you some magic way to do this completely hassle-free, but here are a few tips you might find useful:
- When the caulk is applied, use a wet finger to push it in a bit to fully fill in the gap
- When you wipe off the excess water after cleaning the area, you can use a blow-dryer to dry it, instead of waiting for it to dry by itself completely, so that you can start the application process sooner
- Do not use the blow drying method on the new caulk
- When cutting the nozzle on a caulk tube, cut it under a 45° angle and make sure the hole is smaller than a gap that needs to fill (this will enable the product to penetrate the gap completely)
Video Demonstration: Remove & Replace Moldy Shower Caulk
The video below goes over a useful, no-nonsense demonstration of how to remove and replace moldy shower caulk.
Related Posts:


