Are you constantly greeted with a cold blast when you open your closet door? If your closet feels more like a walk-in freezer than a cozy storage space, this guide is for you!
We’re diving into the possible reasons behind your frosty wardrobe and offering both DIY solutions and professional fixes to help warm things up.
Whether it’s poor insulation, sneaky drafts, or the closet’s location, we’ve got your back. Read on and say goodbye to the chills as we transform your icy closet into a toasty haven!
So, Why Is Your Closet Freezing Anyway?
Ever walked into your closet and been hit by a blast of cold air? Let’s dive into why this might be happening. It could be one factor or a mix of a few.
Understanding these ‘cold culprits’ is key to tackling that chilly closet problem.
The Usual Suspects Behind a Cold Closet
That Sneaky Thing Called Insulation
Insulation is kind of a big deal. Think of it as a superhero cape for your home’s interior, keeping it warm and cozy.
But if your closet’s insulation isn’t up to scratch or missing entirely, it’s an open invitation for cold air.
The Drafty Door and Window Dilemma
Ever feel a ghostly breeze inside your home? That’s drafts for you! They happen when your doors or windows have gaps, letting in that chilly outside air.
If your closet is near a drafty door or window, it’ll turn into a cold-air magnet.
Where’s Your Closet?
Location, location, location! If your closet is up against an outside wall or stuck down in a basement, it’ll likely be colder.
Why? These spots are closer to the cold outdoors and lose heat faster.
The Big Chill: How These Factors Affect Closet Temperature
All these culprits do one thing: they drop your closet temperature. If your insulation isn’t up to snuff, heat escapes and cold air waltzes in.
Drafts from poorly sealed doors or windows act like cold-air delivery services. And closets against outside walls or in basements are more exposed to the chill outside.
The result? A closet colder than the rest of your house. Spotting these issues is your first step to cranking up the warmth in your closet.
Next up, we’ll talk about how to tackle these problems and turn your closet into a toasty, welcoming space for your stuff. Stay tuned!
Turning Your Icy Closet into a Toasty Haven: DIY Style
Is your closet feeling more like an icebox than a storage space? Time to don those DIY gloves and fight the freeze. From insulation to draft sealing, here’s how to do it.
Insulation: Your Closet’s Best Friend
Why Insulation Rocks
Insulation‘s pretty fantastic. By fighting heat transfer, it keeps your closet cozy in winter and chill in summer.
Bonus: it also boosts energy efficiency, taking the load off your heating or cooling system. Hello, lower energy bills!
Your Quick Guide to Insulating a Closet
Insulating a closet is doable even for the DIY newbie. Here’s a step-by-step guide:
First, pick the right insulation. Fiberglass batts, mineral wool, foam boards – they’re all solid choices.
Cut your insulation to fit between wall studs, making sure it covers everything, no gaps left behind.
For closet ceilings or floors accessible from an attic or basement, lay the insulation between the joists.
Safety first! Always wear gloves, eye protection, and a dust mask when handling insulation.
In this video, Rob shows the difference in temperature in his closets after installing styrofoam insulation.
Sealing Drafts: No More Icy Intruders
Spotting Drafty Doors or Windows
Drafts can slip through the tiniest cracks in doors or windows. Here’s how to catch them in the act:
On a cold day, feel around door or window frames for incoming cold air. Use a lit incense stick or candle. If the smoke wavers, you’ve got a draft!
Draft-Proofing Your Closet
Spotted those sneaky drafts? Great. Now let’s seal them with caulk or weatherstripping. Caulk is perfect for stationary parts, like window frames.
For movable parts, like doors, weatherstripping is your go-to.
To caulk, run a smooth, continuous bead of caulk along the gap or crack. Smooth it out with a tool or your finger.
To weatherstrip, measure, cut, and stick it according to the manufacturer’s instructions.
Weatherstripping and Draft Stoppers: The Dynamic Duo
Draft stoppers and weatherstripping are simple, cheap ways to banish drafts and keep your closet warm.
Weatherstripping: Perfect for movable parts, like doors or windows. There’s a variety to choose from, like adhesive-backed V-strip, door sweeps, or door shoe gaskets.
Draft Stoppers: These are nifty for drafty closet doors. They’re often a weighted tube you can buy or make that blocks cold air at the base of the door.
A little DIY magic can really heat things up in your cold closet. Next up, we’ll talk about when you might want to call in the pros and what they can do to help. Stay tuned!
This video shows how to fix drafty door and window trims.
Chill No More: Professional Fixes for Your Frosty Closet
DIY fixes not cutting it? Sometimes, you just need a pro to tackle that cold closet. If your efforts aren’t heating things up, or you’re feeling overwhelmed, it’s time to call in the experts.
Time to Call the Pros?
If you’ve tried insulation, draft sealing, and draft stoppers, and your closet is still an ice cave, it’s time to consider professional help.
Persistent dampness, mold, or structural issues around your closet? That’s another sign you might need expert intervention.
Meet Your Cold Closet Combat Team
When it comes to fighting closet cold, these professionals are your best allies:
Insulation Contractors: These guys can assess your closet’s insulation, suggest improvements, and install new insulation efficiently and safely.
Heating Professionals: If your home’s heating system might be at fault, heating pros can analyze your home’s heat distribution and suggest fixes or upgrades.
Energy Auditors: These experts conduct thorough energy audits, pinpointing inefficiencies that could be turning your closet into a freezer.
What to Expect: Process and Cost
Every issue and professional is different, but here’s a rough idea of what might happen:
Inspection: The professional kicks things off with a thorough inspection to pinpoint the problem.
Recommendations: After the inspection, they’ll suggest solutions, like adding insulation, sealing drafts, upgrading your heating system, or even rerouting heating ducts.
Implementation: Once you’ve okayed the recommendations, they’ll get to work. This can take a few hours to several days, depending on the job’s complexity.
Cost-wise, it varies. For instance, as of my last update in 2023, professional insulation could cost $1.5 to $5 per square foot, and an energy audit could run you $207 to $680 or $422 on average.
Yes, there’s an upfront cost, but think of the potential savings from a more energy-efficient home and preventing damage from dampness or mold.
Stay tuned as we explore long-term solutions to keep your closet toasty in our next section!
Toasty for the Long Haul: Long-Term Fixes for a Frosty Closet

Insulation and draft-sealing are great, but if your closet’s still cold, you might need to think long-term. Consider dedicated heating systems or even structural changes to your home.
Closet-Friendly Heating Systems
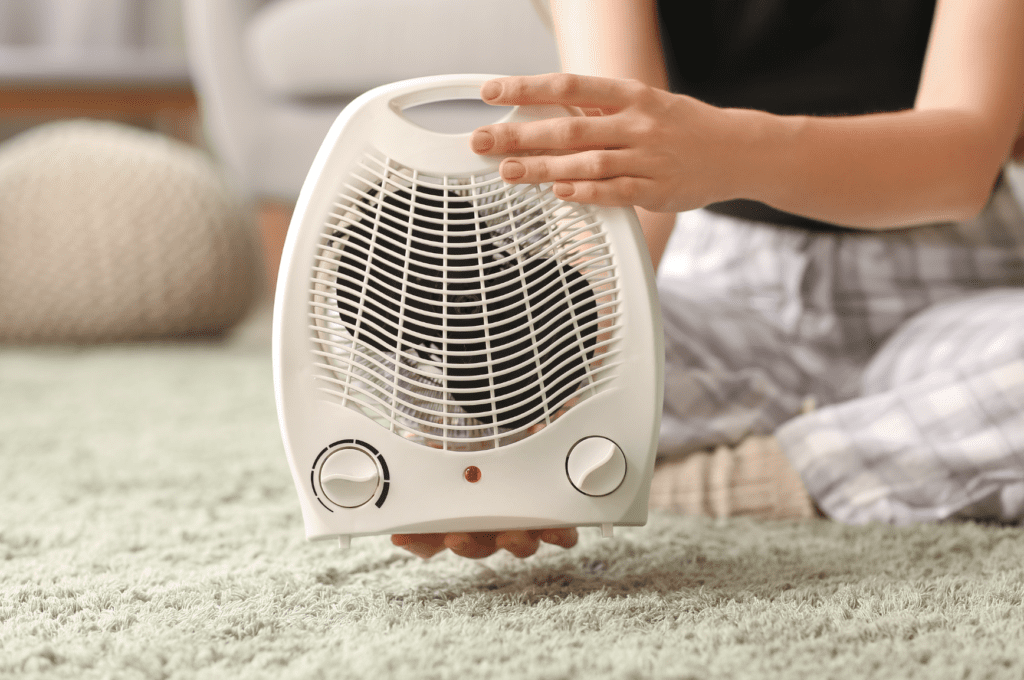
Compact Electric Heaters: These small heaters are great for little closets. Portable, safety-conscious, and great for warming up tiny spaces.
Infrared Panels: Think of them as a constant heat source you can mount on your wall. They heat people and objects directly, making them quite efficient.
Baseboard Heaters: These guys heat your room from the ground up and sit along the base of your closet walls.
Pros and Cons: Heating Systems
Compact Electric Heaters:
Pros: Portable, budget-friendly, perfect for small closets.
Cons: Not great for large closets, can ramp up energy bills, potential fire risk if misused.
Infrared Panels:
Pros: Efficient, safe to touch, low maintenance.
Cons: Higher upfront cost, professional installation needed.
Baseboard Heaters:
Pros: Efficient from the ground up, quiet, easy install.
Cons: Takes up wall space, needs professional install, running costs can add up.
Other Ways to Warm Up Your Closet
Here are some other ideas that don’t involve heating systems:
Rerouting Heating Vents: If your home has forced-air heating, reroute or extend a vent into the closet. Just make sure a pro does it for safety and building code reasons.
Improving Circulation: Add a vent or grille to the door to help warm air circulate into the closet.
Relocating the Closet: A bit extreme, but if your closet’s against an exterior wall, moving it to an interior wall could help keep it warm.
Every home and closet is unique, so your mileage may vary with these solutions. If in doubt, consult a professional. In our next section, we’ll share tips to maintain a perfect closet temperature for the long term!
Conclusion
And that’s a wrap, everyone! No more shivering while you choose your outfits. From identifying the culprits of a cold closet to DIY fixes and professional solutions, we’ve got you covered.
Now you’re equipped with the knowledge to banish that chill and create a cozy haven for your clothes. Remember, every closet is unique, and what works for one might not work for another.
So, keep trying until you find what works best for you. Stay warm, and happy organizing!

