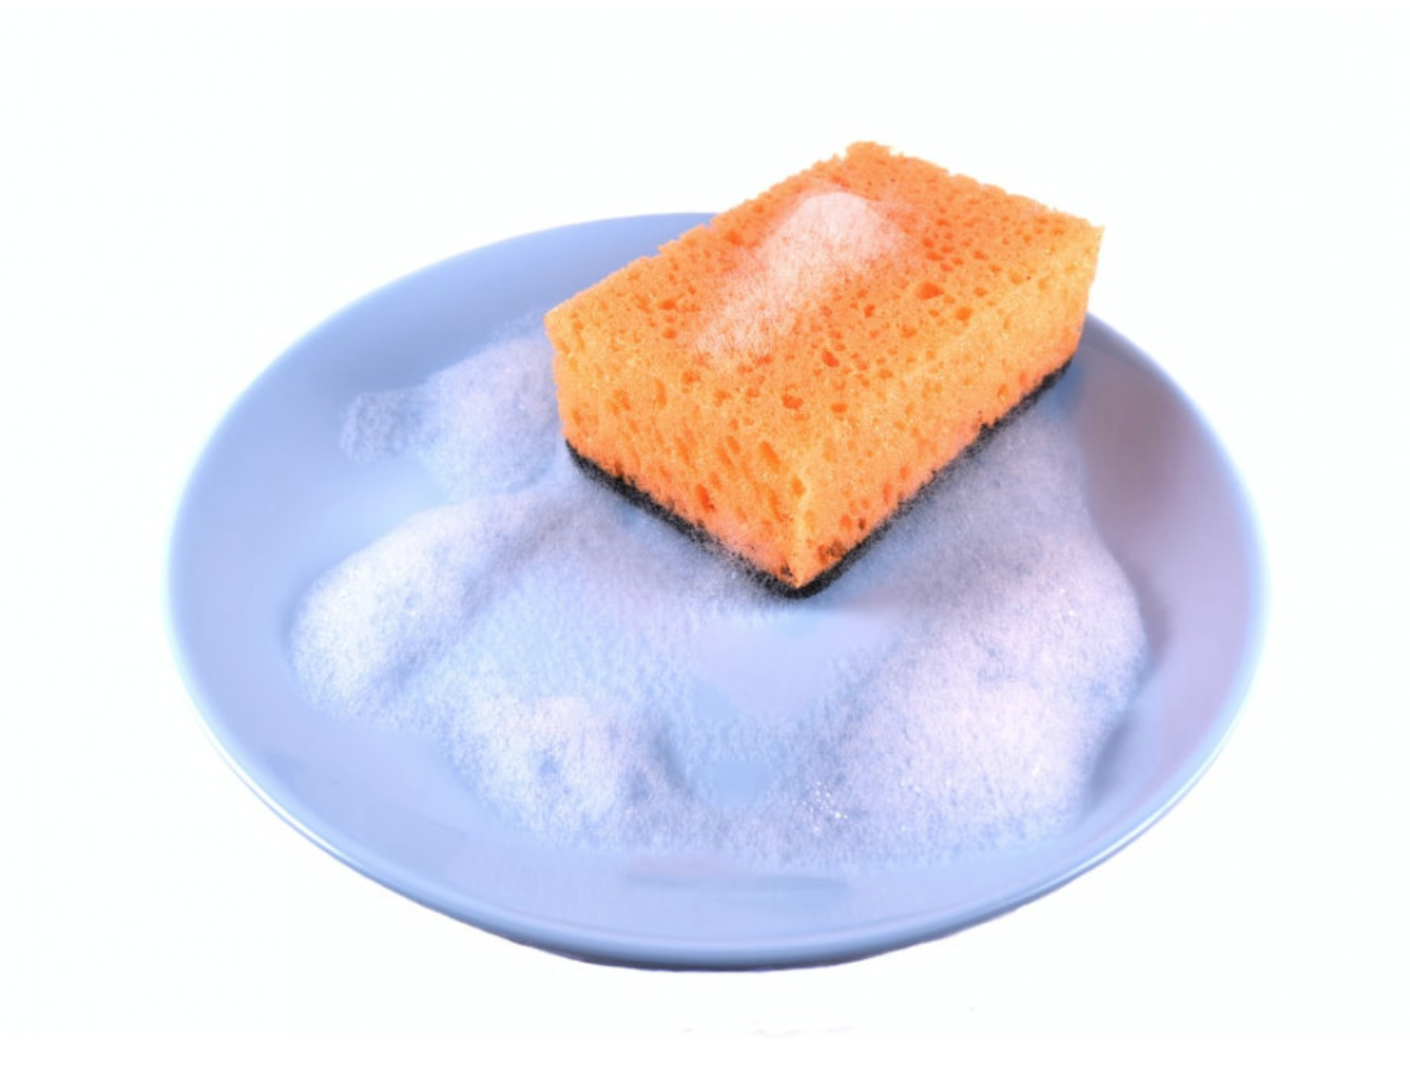
It’s safe to say that you can find a sponge in most households. It’s a multi-use accessory that makes cleaning your home that much easier. Although they are incredibly useful, sponges tend to have one drawback –they smell after a few uses. So, what exactly makes a kitchen sponge smell, and how can you prevent it from happening?
I think God gave me a heightened sense of smell, which makes me “enjoy” smells more than the average human. That’s good in spring when you are enjoying the outdoors, but it’s not always good in the kitchen. I seem to smell the sponge and what the sponge has touched very quickly. It is time for me to figure out what makes kitchen sponges smell and what to do to prevent it.
Why Does My Sponge Smell?
If you’re one of the many people who uses a sponge in the kitchen, you’ve probably noticed the unpleasant odor that appears after a few days. For the most part, the odor comes from cleaning dirty dishes or countertops, which results in food getting stuck in between the pores of the sponge. Over time, the food particles begin to decompose, which in turn cause a bad odor.
Aside from the fact that the unpleasant smell can be incredibly disturbing, a dirty sponge can also make you sick. Sponges can carry bacteria such as E. Coli, salmonella, and campylobacter, which can cause serious illness. That’s why it’s important to replace or clean your sponge often, especially if you’re using it to clean off food.
If the smell isn’t enough to want to make you clean your sponge, there is more to convince you. A scientific report published by nature.com shows that there can be areas on your kitchen sponge that are just as high in concentrations of bacteria as in a toilet. The last thing you want is to be cleaning your dishes with a toilet sponge!
How Can I Get Rid of the Smell?
Perhaps the best way to get rid of the smell of a dirty sponge is to throw it away completely. However, if you want to try and salvage it before tossing it, there are few ways to do that.
The Microwave Technique
It is a little counterintuitive, but microwaving your sponge is an effective way to getting rid of your sponge’s bad smell. This method will result in killing up to 99% of the bacteria living on your sponge.
To do this, simply place the damp sponge in the microwave for about 1 to 2 minutes. This will quickly kill off any bacteria, mold, or yeast that may have taken up residence in your sponge. Be sure to let the sponge sit for another minute or two to cool off before you take it out of the microwave.
If you decide to use this technique, you must make sure that the sponge is damp before putting it in the microwave as putting a dry sponge in could ignite a fire. You will also want to avoid putting in a sponge that has any metal fibers in it.
The Dishwasher Technique
If you don’t have a microwave, you can also clean your sponge by placing it in the dishwasher. Make sure that the water is hot enough that it can kill off the bacteria on the sponge.
The Bleach Technique
You may also want to consider soaking your sponge in a bucket of water mixed with half a teaspoon of bleach. Keep this solution handy under your kitchen sink to use whenever you need to clean your kitchen sponge.
Eco-Friendly Methods
Using a natural disinfectant is another excellent way to get rid of the unpleasant odor coming from your sponge.
All you need to do is leave your sponge to soak in either white vinegar or lemon juice. Both liquids contain high levels of acid that can kill off any germs and mold that may be present in your sponge.
Another natural way to get rid of the smell is to leave your sponge sitting out in the sun for a day or two. The sun’s UV rays help kill off any bacteria that may be lurking in your sponge.
You may even want to combine these two eco-friendly methods for better results.
After washing your sponge, it is also vital that you remember to wash your hands; otherwise, you could end up spreading all kinds of germs in your home.
Kitchen Sponge Best Practices
If you have recently purchased a new sponge, make sure that you keep it as clean as possible to prevent it from smelling or growing any bacteria on it. Keep in mind that bacteria tend to thrive in moist and warm environments, so it wouldn’t be wise to leave your kitchen sponge sitting in the sink after washing your dishes.
Make sure that you are letting your sponge dry in between each use to prevent it from growing mold. This is because new bacteria can grow on a wet sponge every 20 minutes. Unfortunately, soap and water don’t get rid of germs completely –this only washes them away.
Keep your sponge as clean as possible and wash it every single day. Soak it in bleach, microwave it, or let it sit in the sun. Whatever your preferred method is is fine, just make sure you are diligent about doing this daily.
If you’re using your kitchen sponge to clean your dishes, make sure that’s the only thing you use it for. Don’t use that same sponge to wipe up meat juice or other kitchen spills. Doing this will likely result in a foodborne illness that you don’t want on your hands. Make sure that you have one sponge designated only for your dishes to prevent any confusion.
If all else fails and you can’t get rid of the smell from your sponge, it might just be time to toss it and get a new one. Another alternative would be to simply switch from a kitchen sponge to a dish brush, which is just as effective at cleaning your dirty dishes but is much easier to keep clean.
Conclusion
Keeping your kitchen clean is vital and a surefire way to keep pests away, prevent germs and bacteria from forming, and keep you and your family from getting sick. But when cleaning your kitchen, make sure that the cleaning materials you’re using aren’t making the problem worse.
Remember to clean your dish sponge regularly and keep it dry in between uses to prevent harmful bacteria’s growth.
Video Summary
I have created a quick summary video for this blog post. If you like this video, consider subscribing to the House Notebook Youtube Channel.
Related Posts: